It’s time to stop kneeling on the floor to use the bandsaw, so I’ve started making the stand. Not done yet, can only work part of a day on it at a time due to other things that need to be done.
This stand will have a flat top with a lip to catch the metal bits and also cutting fluid that will be pumped onto the cut. The fluid makes a smoother cut and reduces wear on the machine.
So, cut some steel angle for the top. The ends are cut at a 45 degree angle so they fit together nicely. On this saw, spacers are sometimes needed when cutting angles as the steel would hit the guide rollers. This is often a problem on small saws like this one.
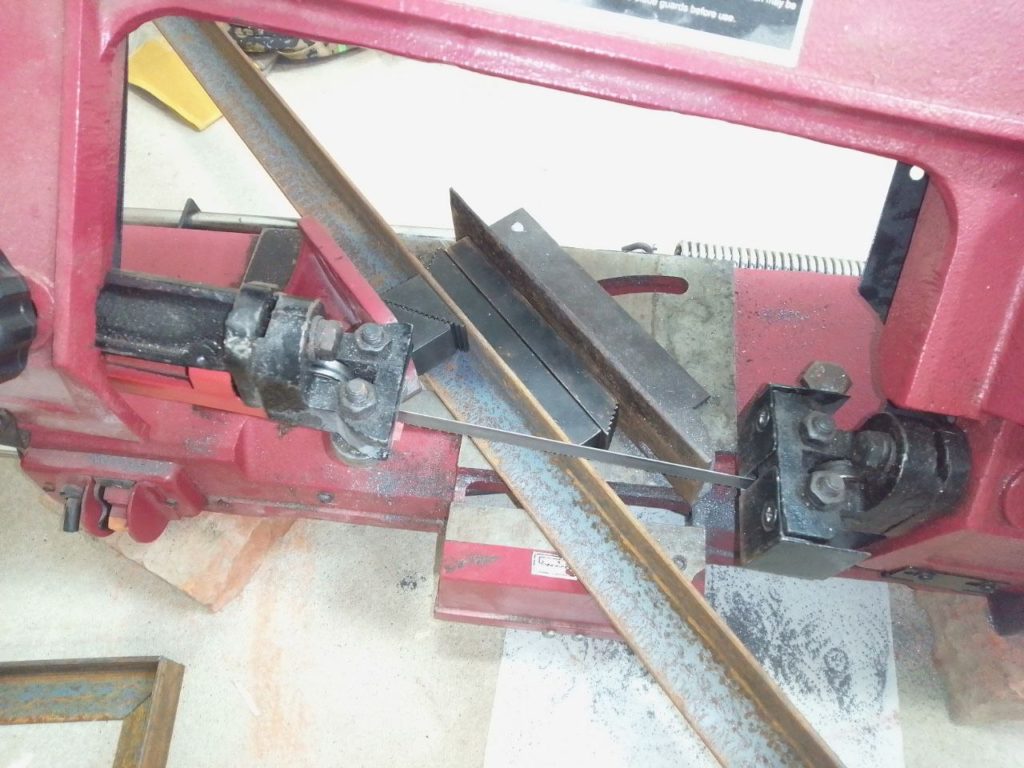
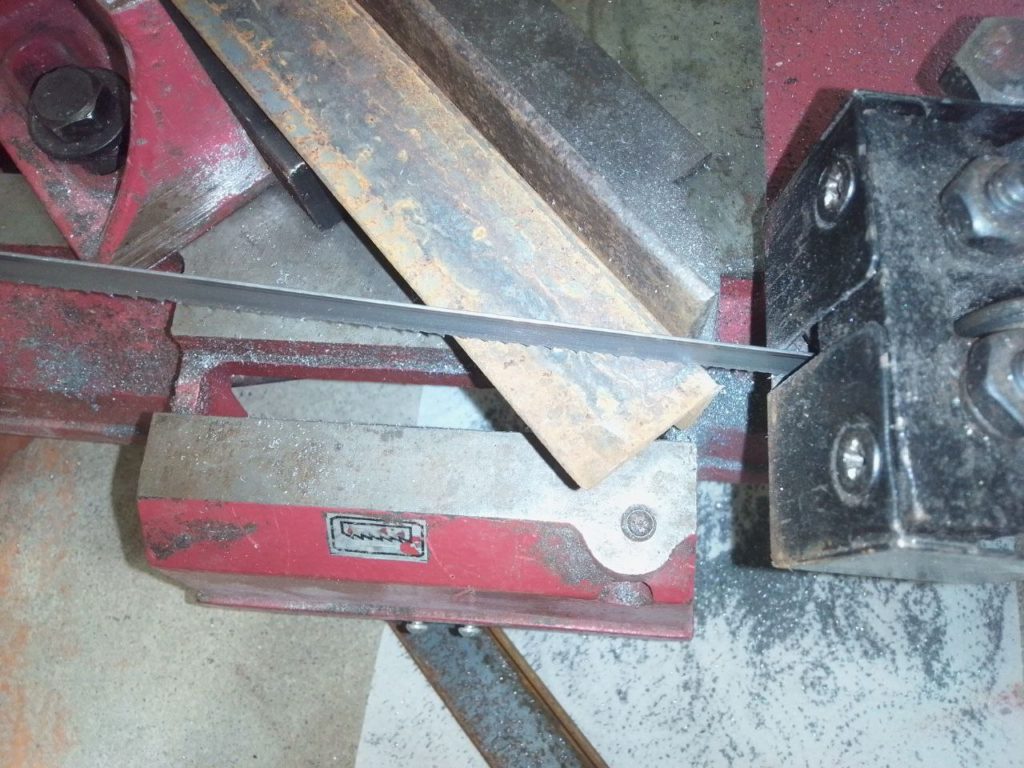
Test the fit to make sure everything is cut right.
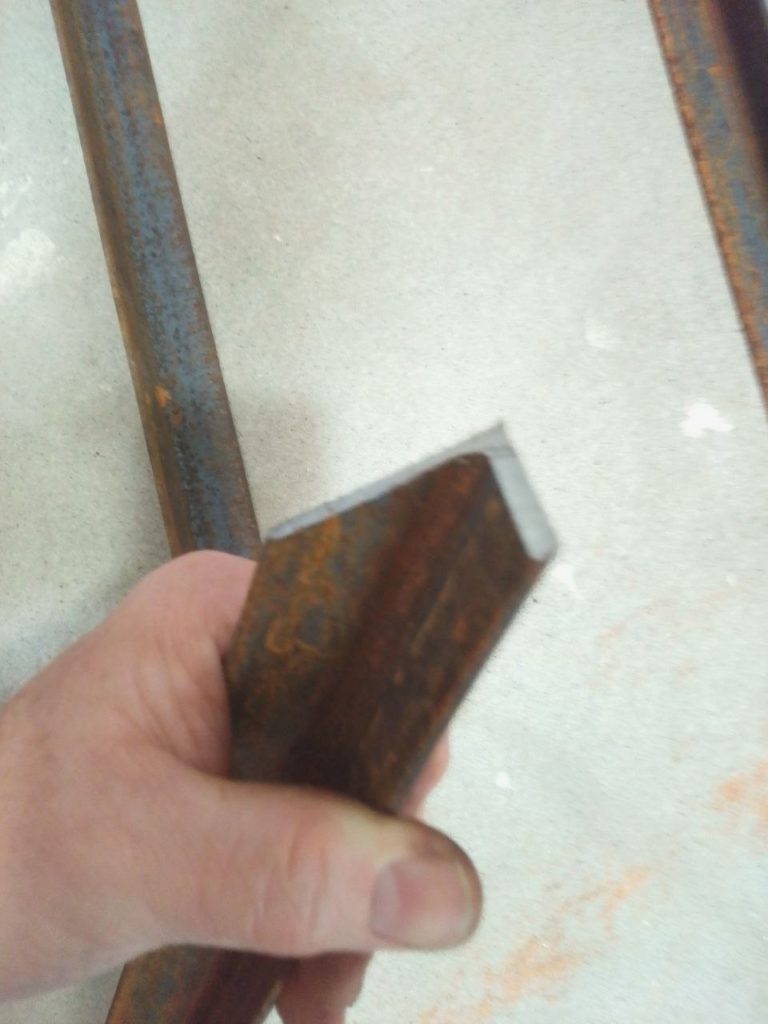
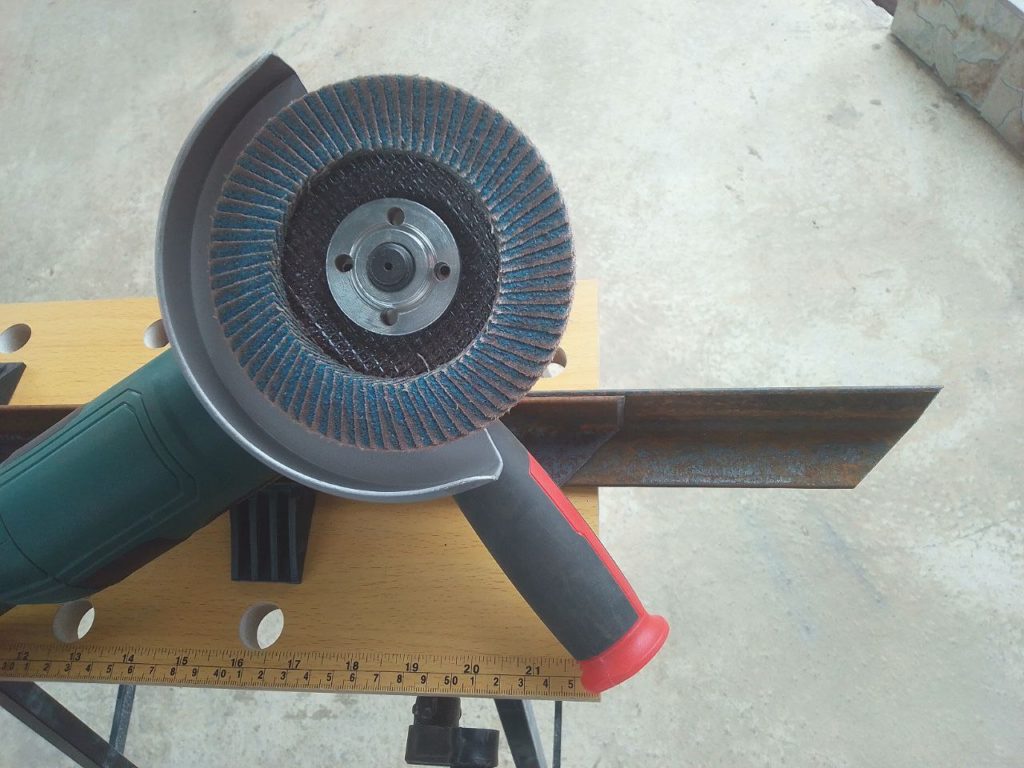
Next I removed the rust near the ends so I can weld it. Also, the rust would be hard to remove after this is assembled. I used an angle grinder with a sanding disc installed. This particular grinder has a variable speed control which makes it easier to do some things.
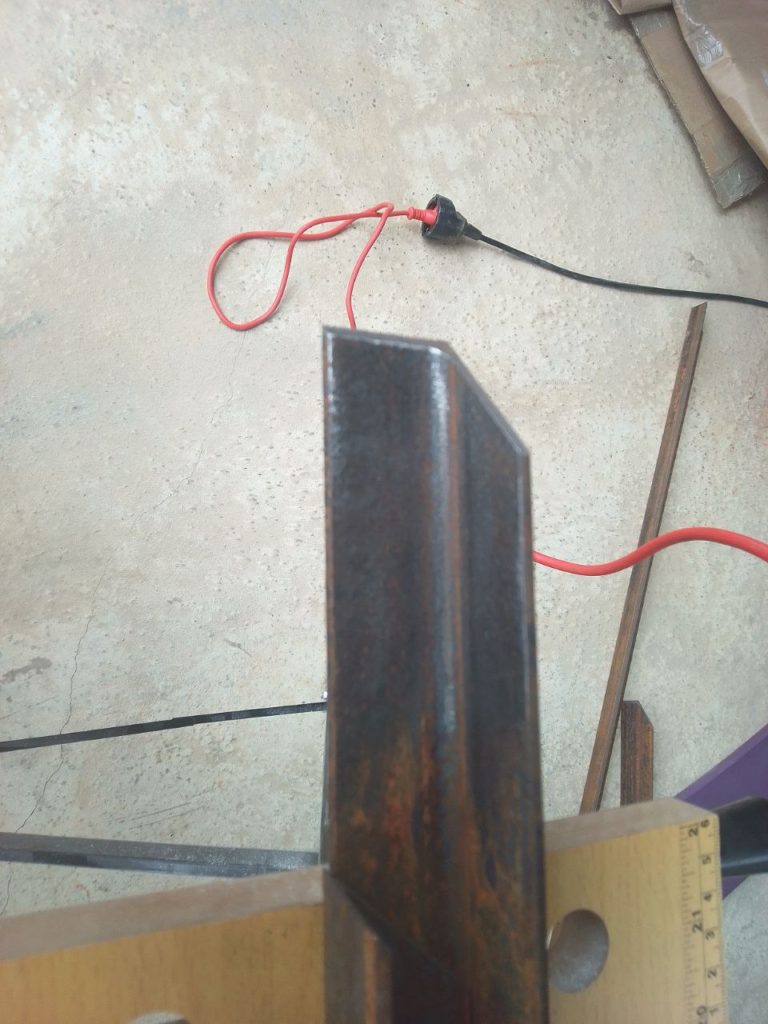
The sanded end. It doesn’t have to be perfect, just mostly clean.
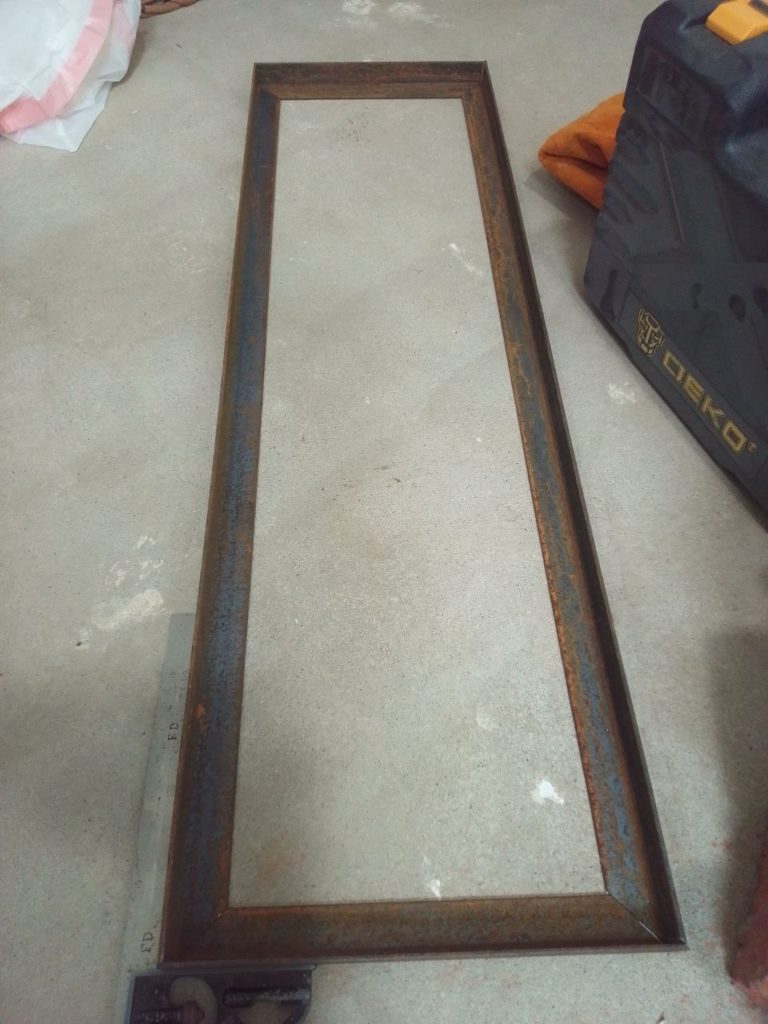
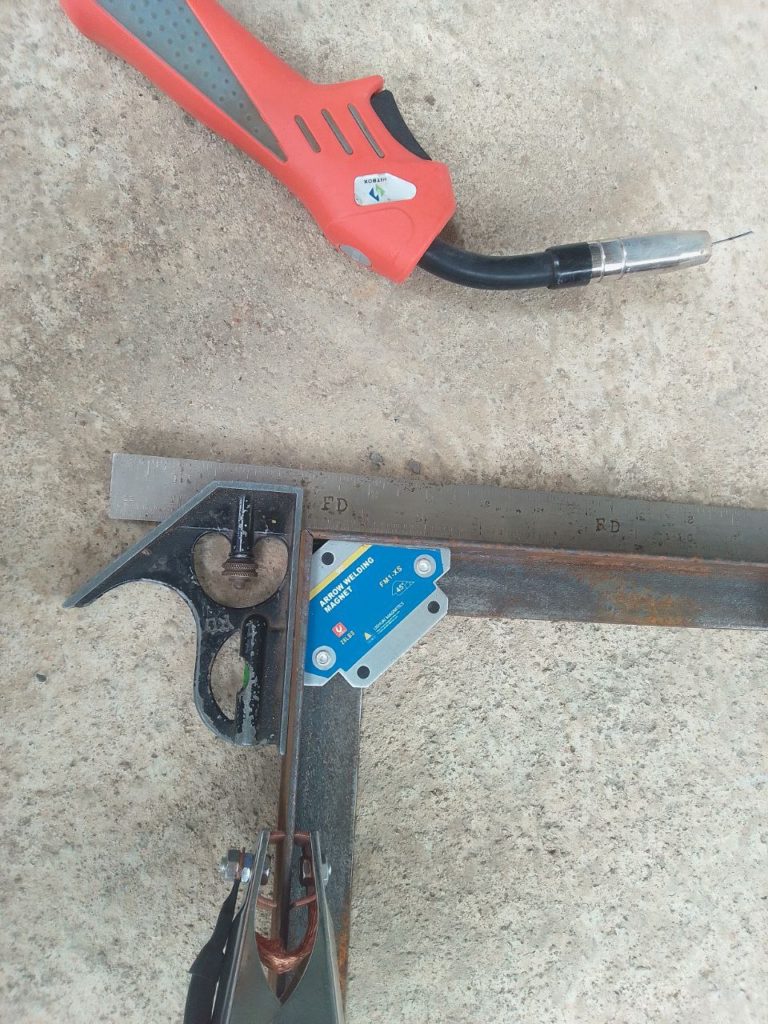
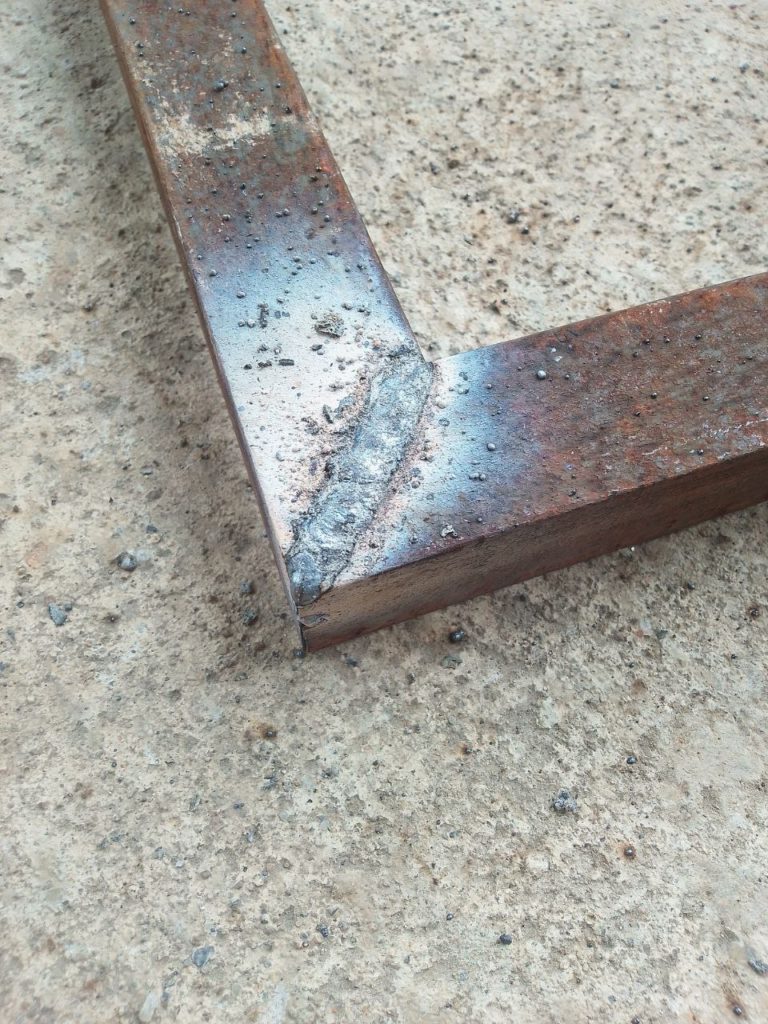
Time to start welding. First, lay everything in position on a flat surface (smooth, flat concrete is normal). A magnet is used to hold one corner in place and a square is used to make sure the corner is at the right angle. The big silver clamp at the bottom is the ground wire for the welder. You always need a ground and it has to have a good connection. The contacts are made of copper because not only is it a good conductor, the copper won’t accidentally weld to the steel if there’s a poor connection.
Add a tack weld to hold things in place.
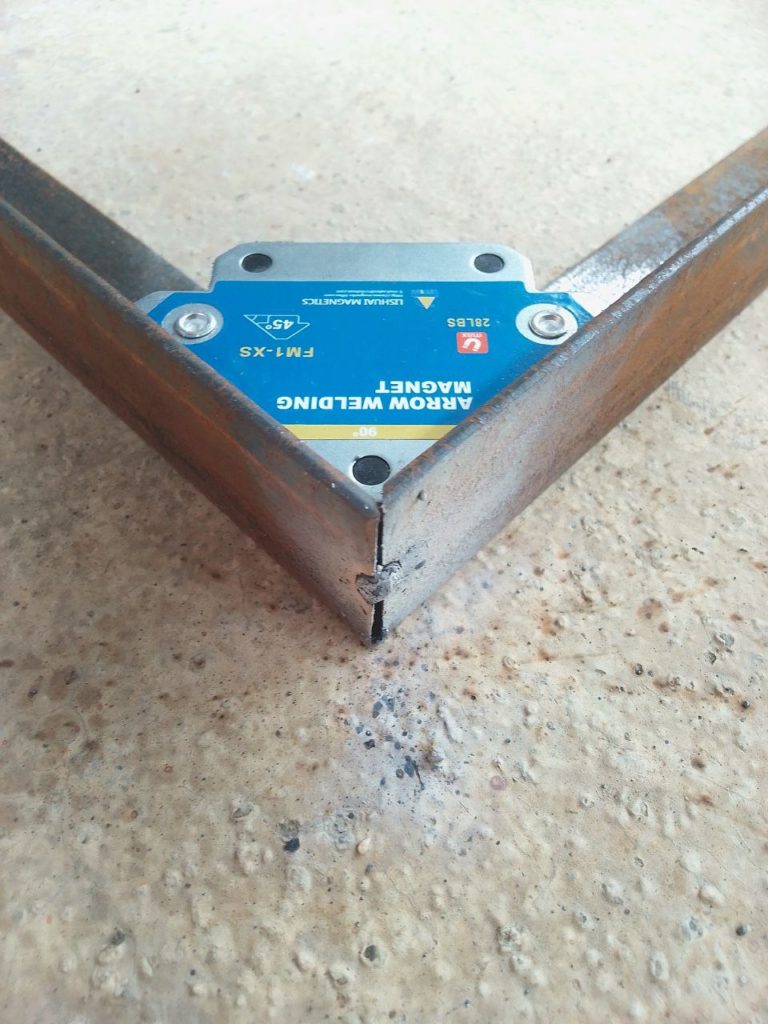
Remove the magnet, recheck that everything is at the right angle, then weld it.
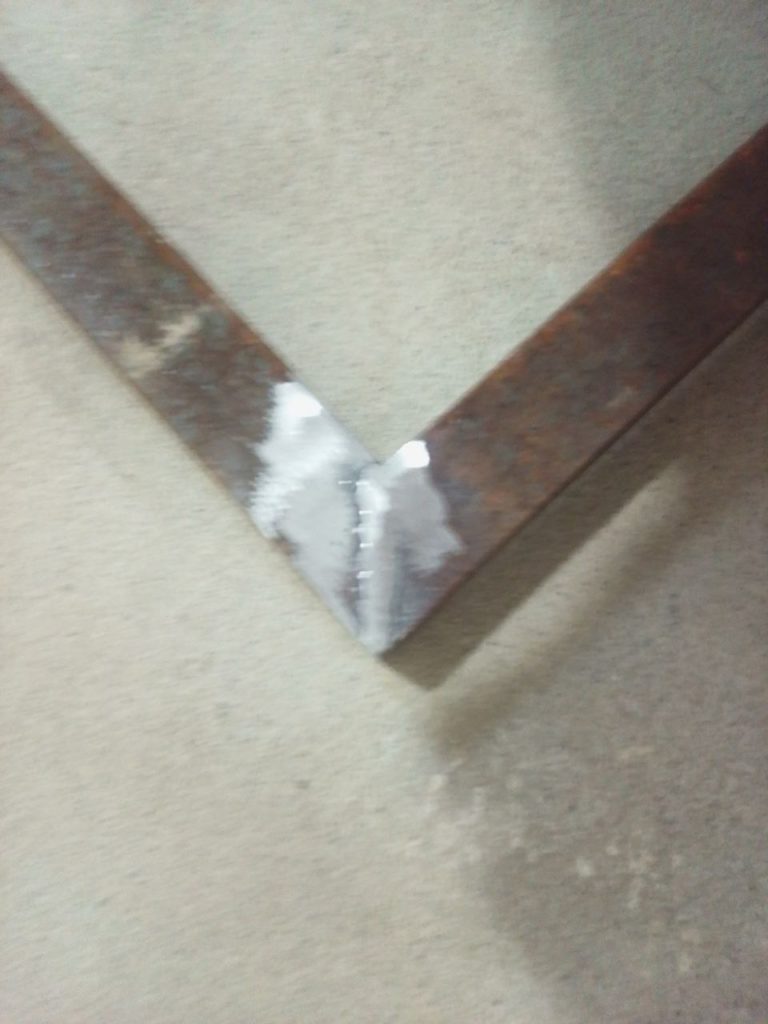
After welding, use a grinding disc in the angle grinder to flatten out the weld. This is not only cosmetic, but will provide a flat surface to weld the legs onto. Sorry it’s blurred, I didn’t notice when I took the picture.
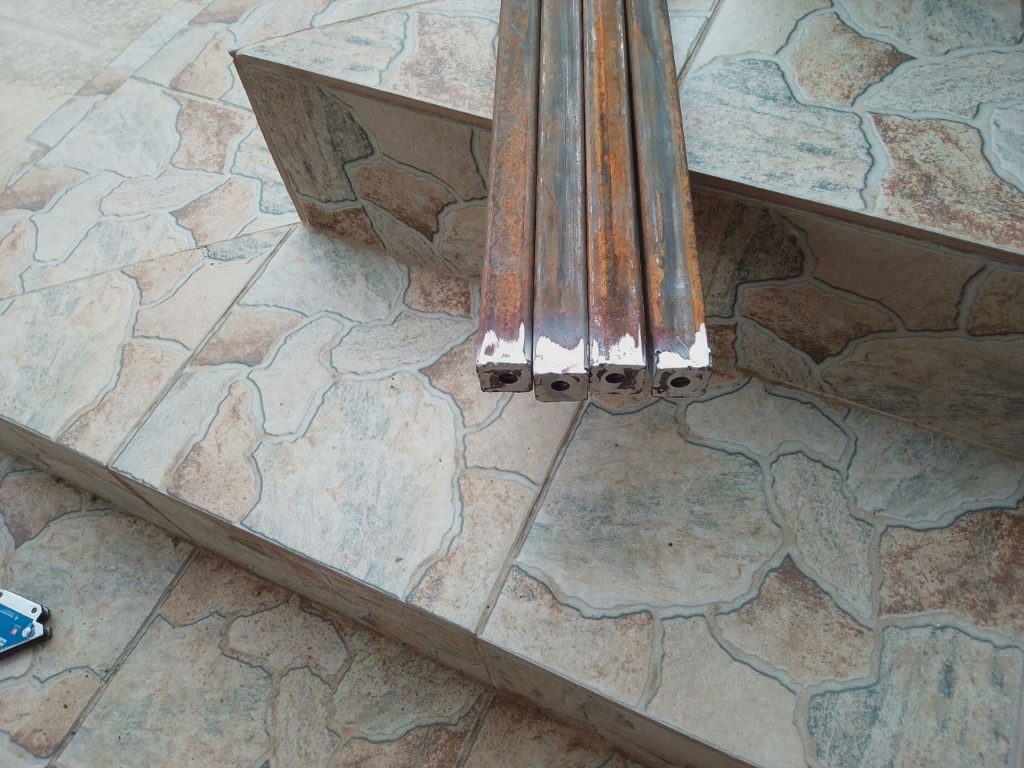
Next we need to make the table legs. These are cut from square tubing.
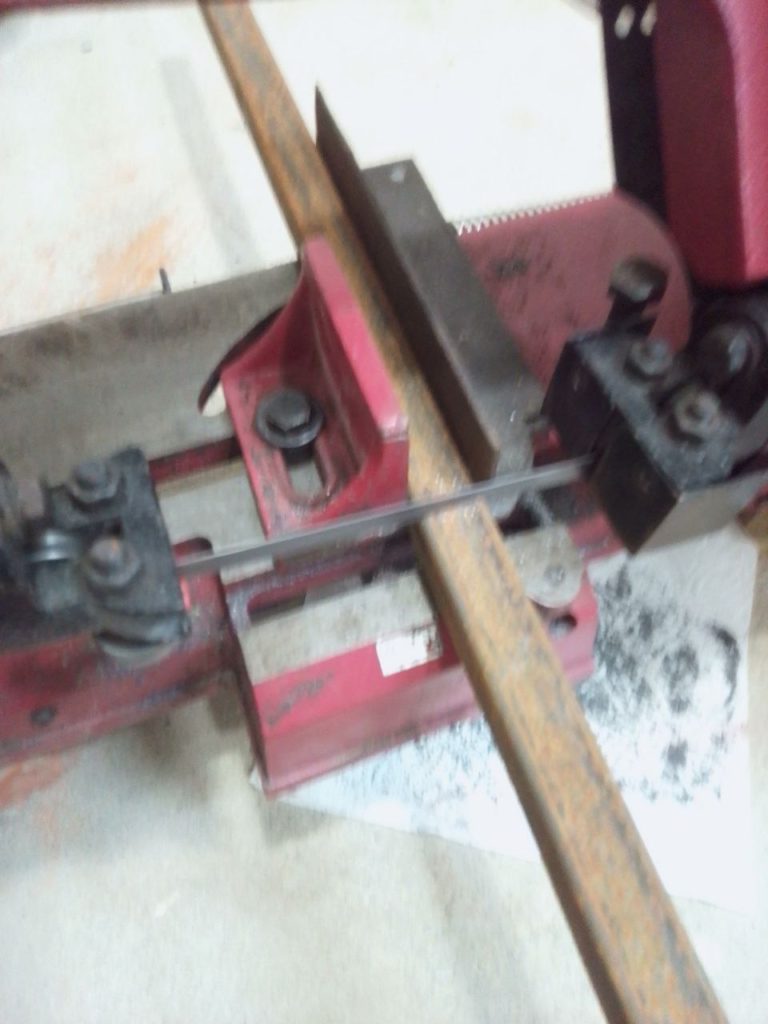
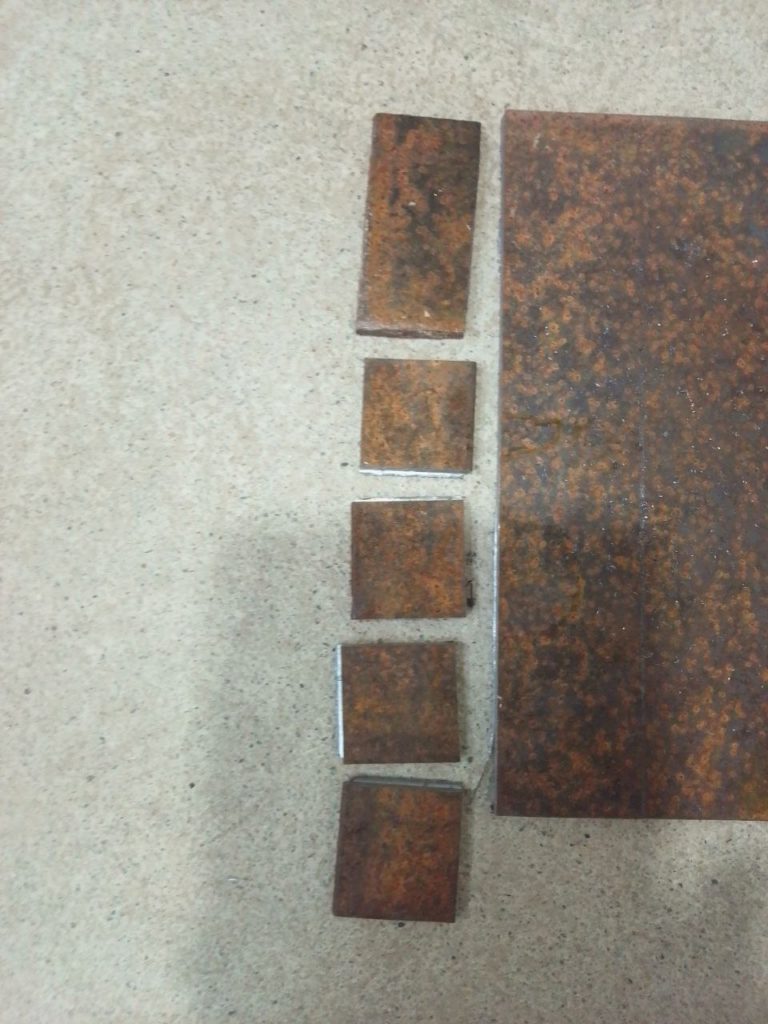
These legs will have wheels on the bottom, so I need to make plugs with threads to go in the end of the legs. I start with a piece of 3mm steel I bought from a scrap dealer. Cut off a strip and then cut into 4 squares.
These need to have the corners removed so they will fit inside the tube. Square tubes have rounded corners because they’re made from a flat sheet that’s been folded and then welded. I used a small handheld vise to hold these squares. This protects your fingers from the grinding wheel and also the metal will get hot.
I drilled a hole in the middle of each one a little larger than the bolt that will go through it. I then welded a nut on each one. It doesn’t need to be super strong, the weld is only to hold the nut in place and keep it from turning. So, one small tack on two sides of each nut.
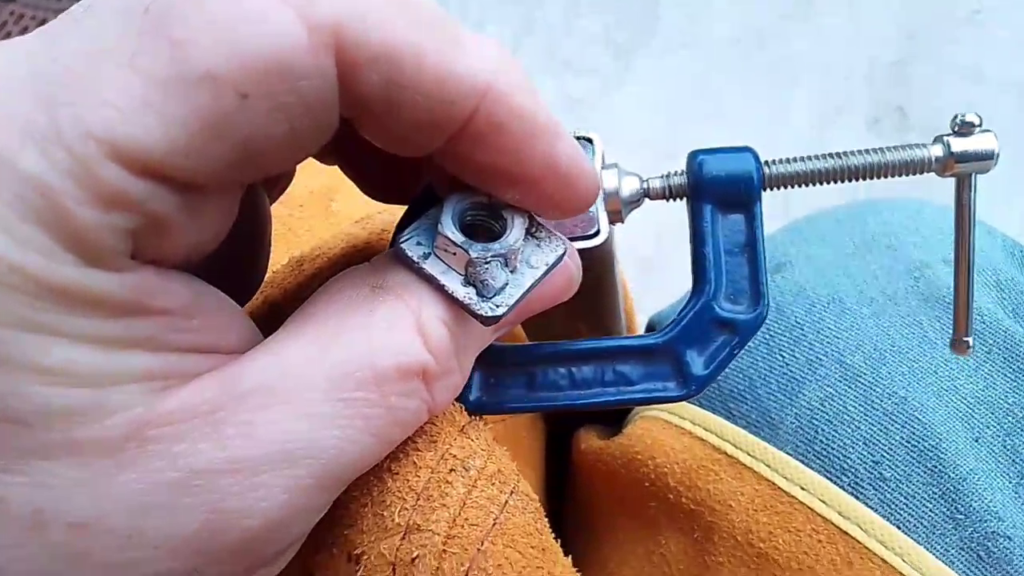
I then used a welding magnet to hold the plug in place with the nut inside the leg. I tightened a C clamp enough that the tubing bent in and gripped the plug.
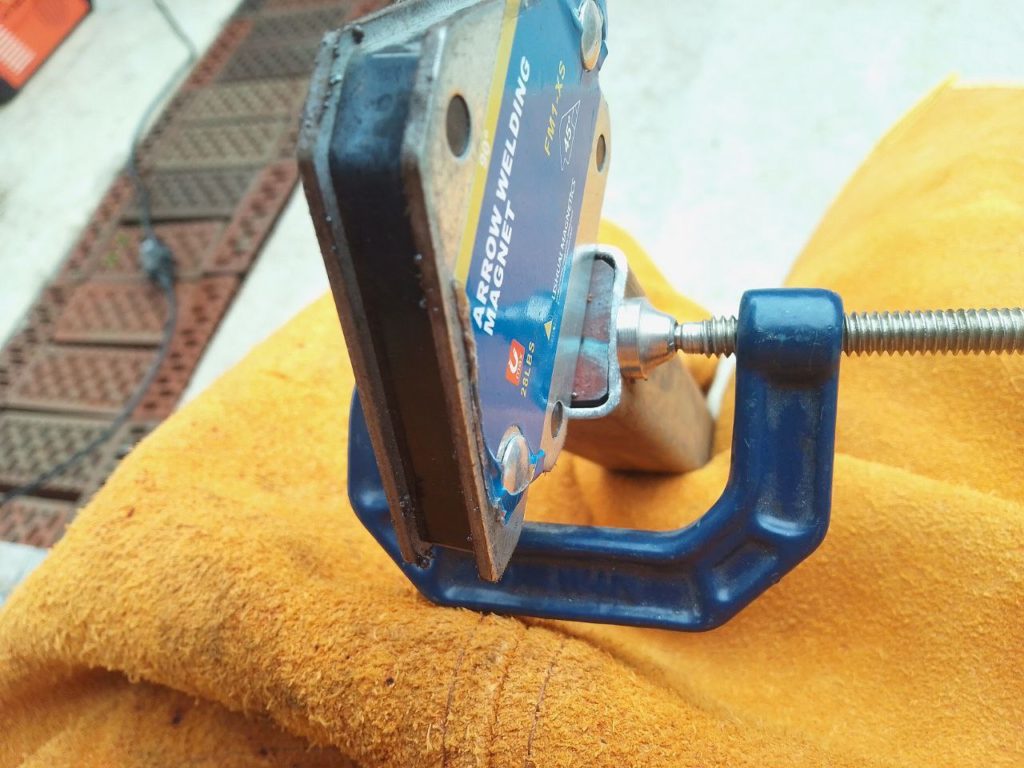
Once the plug was tightly gripped, remove the magnet and prepare to weld.
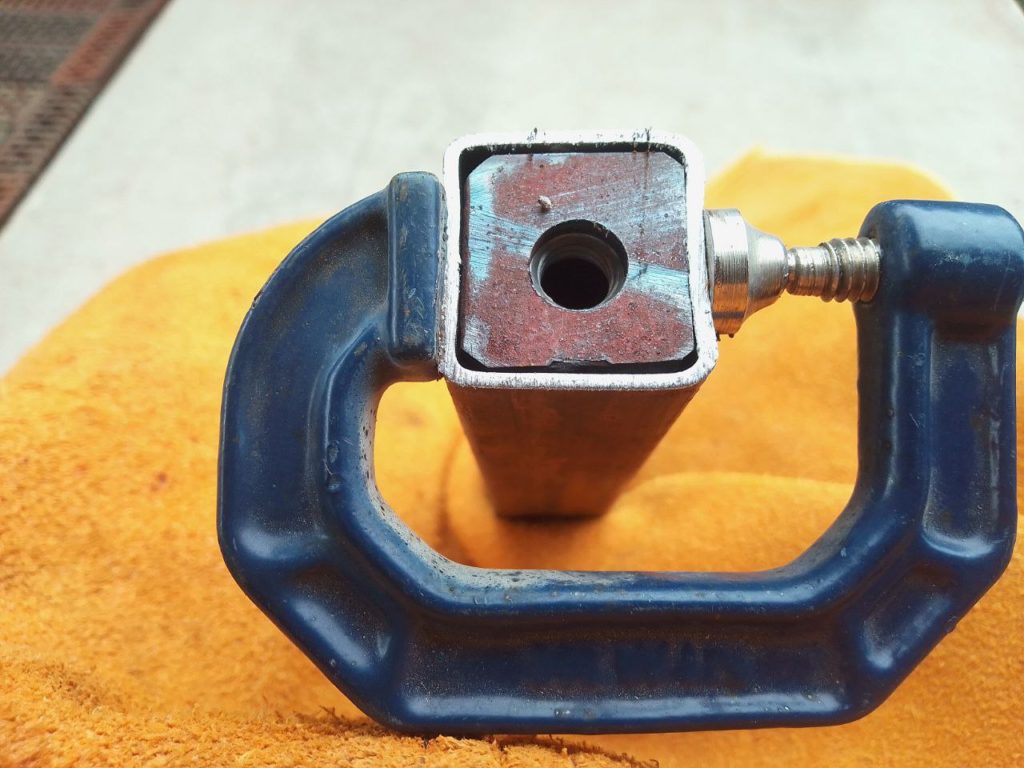
I put a tack weld in two corners, then removed the C clamp. Complete the weld and do the next leg.
When all four were done, I used the angle grinder to clean up and flatten all the welds.
Here’s a wheel installed to show how it works. You could screw the wheel all the way up against the plug, but I like to make things adjustable. You can raise/lower the leg as needed and then tighten the nut up against the plug to hold things in place. This nut also carries all the weight, the one inside the tube is pulled down against the plug so there’s no load on those tack welds now.

That’s it for now. Next is welding the legs onto the table top.
14 responses to “Band saw stand”
Jerry, your new post is a manual !!! Thanks for details and photos.
When people come to our shop in the future they’ll see the new stand and other things we’ll be building.
Next items for the shop will be a table for the lathe and storage shelves. The shelves are standard commercial shelves, no need to build them when they’re available at a reasonable price.
Soon the bottom part of our milling machine will be arriving, we will then assemble it and move it into the shop. We really miss having a machine like this, the one we had in California was used all the time.
Eventually we’ll be building a few more tables to hold machines and to be used as work areas for us and students. We also have to finish the floor some time in the future. We plan on an epoxy coating as used in commercial buildings. Smooth and durable.
Great to see the machinery being upgraded. Good job on the bandsaw frame here. It will certainly ease the back strain.
Are you going to be re-cycling the cutting fluid/coolant ? We used to take a piece of fine stainless steel mesh and using a soldering iron, melt it onto the one end of a 100mm diameter PVC water pipe (3mm wall) about 60mm in length. Attach a small handle and site it in a support immediately under the tray drain. This will remove 95% of filings, chips and swarf before the tank and pump.
Thanks for sharing.
Practical Pete in Pretoria.
Good idea on the mesh, the pump for our milling machine just uses a wall to let the particles settle out before going to the pump. As the pump is on the bottom of the second chamber it automatically ignores any scum on top of the fluid… assuming you clean it regularly.
I have read Peter”s comment and your answer to him .It is a pity that I havent understood everything to my low compence in thd issue. I hope you’ll explain it when me meet.
Cutting machines often flood the tool with coolant to make a better quality cut, allow faster cutting, and to make the cutting edge last longer.
The fluid is mostly water mixed with oil and/or fat like lard and a detergent to allow the mix to happen.
After doing it’s job, the coolant is collected in a tray under the tool and goes back to a tank with a pump to be reused.
This fluid now has metal particles in it that you don’t want getting into the pump. Pete was giving an example of a simple, cheap filter to remove the particles.
I said our milling machine just has a chamber to let the particles settle out much like a two-chamber septic tank.
Thanks,more clear now
Of course, if you could somehow get your hands on a powerful magnet, you could drop one in the tank to capture any steel particles that get through the basket strainer. I used to do that in generator diesel tanks.
The oil drain plug in a car I had long ago had a magnet in it. I guess with aluminum engines it’s not very useful.
I do also cut brass, aluminum and stainless steel so the magnet will only be partly useful.
I “ve never expected that the issue under discussion is really so interesting and usuful for me.I very often lose steel needls and pins.Will buy magnets to catch them
I know where you can get nice magnets for free. Check with me at the Learning Center.
The magnet picker upperer around here is for exactly that, Nadia.
My mother-in-law (83) regularly drops her pins and I epoxied a strong magnet onto the end of an 8mm plastic rod, so she doesn’t have to bend over.
It saves me a lot of pain. 🙂
Thanks a lot,Jerry!
Peter, magnets are also used during lessons to hold pictures on a magnet board.