A lot of work done in a machine shop is actually making tools, jigs, and fixtures for use in making the actual product you’re trying to make. Also, from time to time, you will have to repair a machine.
If you were rich, you would simply by ready made parts and maybe hire someone to install them.
What if you’re not rich, or the part you need isn’t available, or maybe you just like doing things yourself?
You’ve come to the right place!
Our new milling machine had parts missing when it arrived. The manufacturer is sending replacement parts but it will probably be two to three months before they get here. So, what do we do? We make temporary replacements!
This is the story of one particular missing part type, the hand wheels that are used to manually move the milling table left to right (X-Axis) and front to back (Y-Axis).
Hand wheels are normally made of metal, but since these only need to last 2-3 months, I used the 3D printer to make them out of plastic. These are a pretty standard shape so I just designed something simple that looks similar to the real thing. For this task, they will be “good enough”.
Important thing to note when making/doing things. If someone is paying you to make something “at least this quality”, it normally costs you more to make it better than that. You’re giving the customer a free upgrade. There may be times you want to do this for various reasons, but be aware that “good enough” pays the bills.
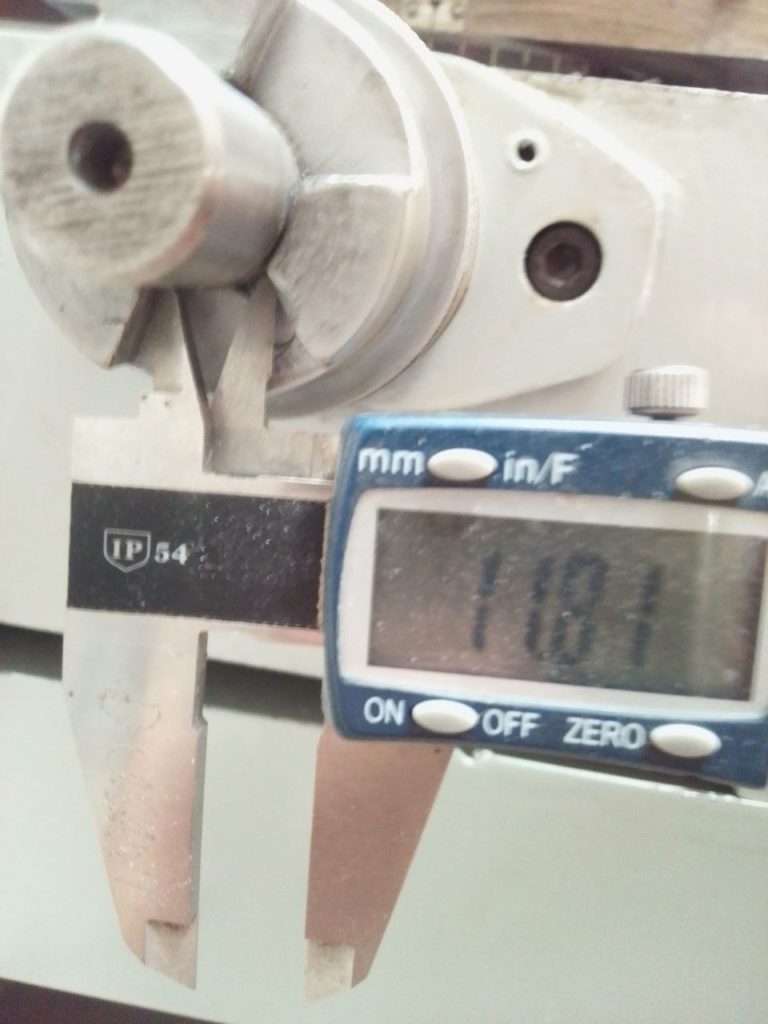
So, how to start. Measurements! The hand wheels fit on shafts with 3 tabs, the wheel hub has to lock into these.
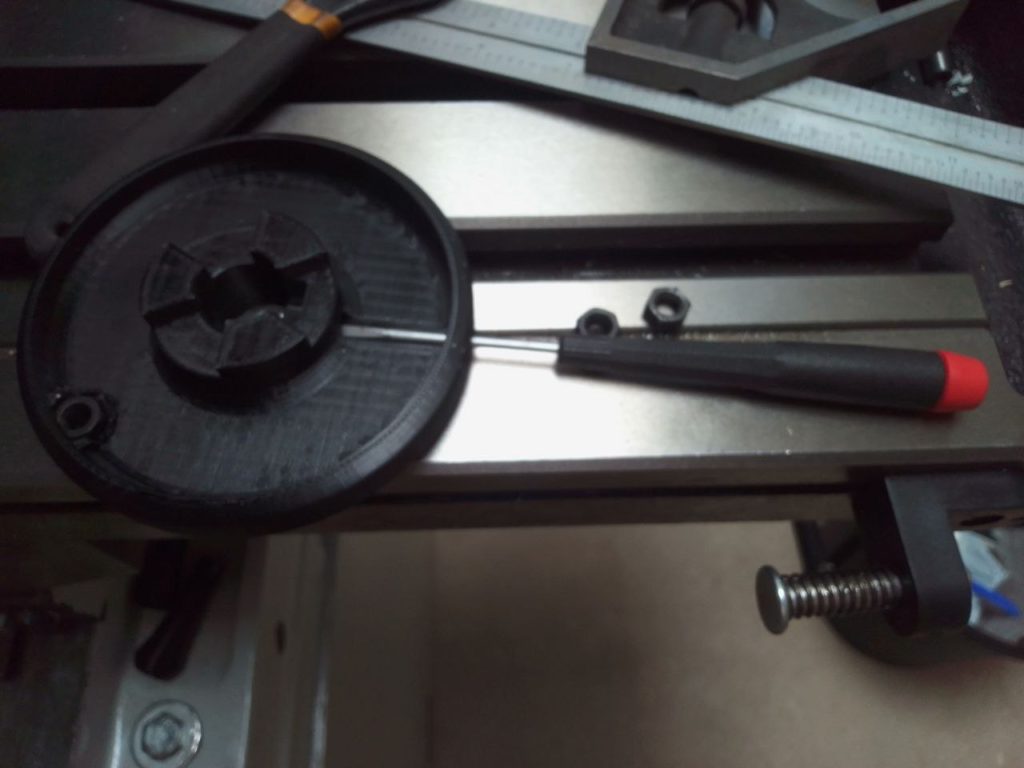
I’ve already show how to design and 3D print things in other posts. Here’s the wheel and handle fresh from the 3D printer.
Test fit a wheel (lower center) to make sure all is well. I didn’t take a picture of it, but I first printed just the tab section of the hub to check it. I did have to adjust the tabs slightly. With 3D printing you can quickly find problems and fix them.
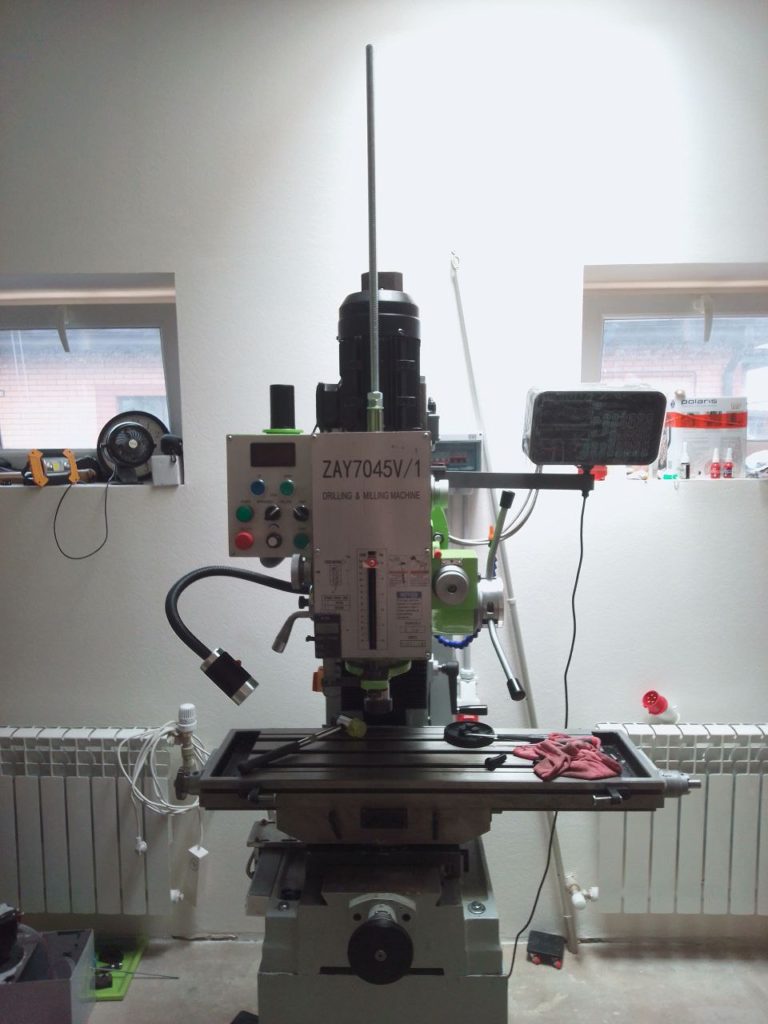
The BIG silver bolt sticking out of the top of the machine is another thing that was missing. There’s a Draw Bolt that pulls or “draws” the tool tightly into the machine. I bought a 1 meter piece of “running thread” (USA term) or “all thread” (UK term) threaded rod in M16 size. After deciding on the correct length I cut it off in the band saw. It’s not cut in the photo because right after the 3D printer finished our power went off and stayed off for 7 or 8 hours! I was reduced to manual labor for most of the day.
The wheels need a “set screw” also called a “grub screw” to hold it on. I don’t have any so what do we do? MAKE THEM!
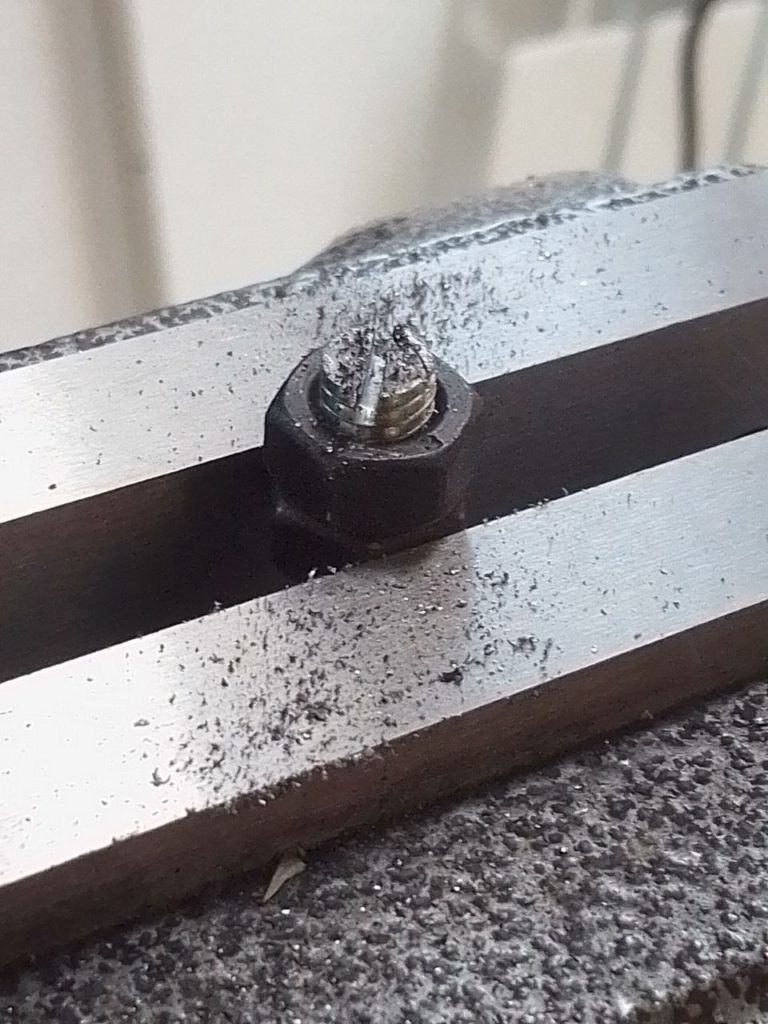
I cut a short piece of running thread in M6 size, then put two nuts on it and locked them together to hold it. I clamped the nuts in a vise and used a hand hacksaw to cut a screwdriver slot in each one.
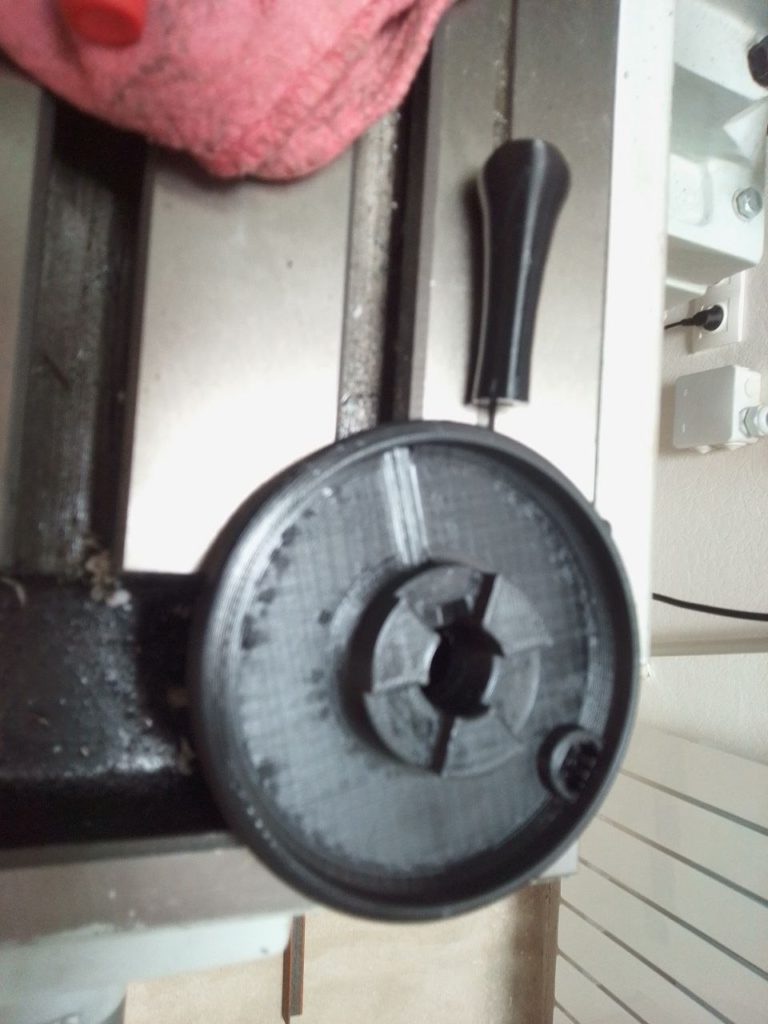
Now insert the set screw with one nut into the wheel and it’s ready to go.
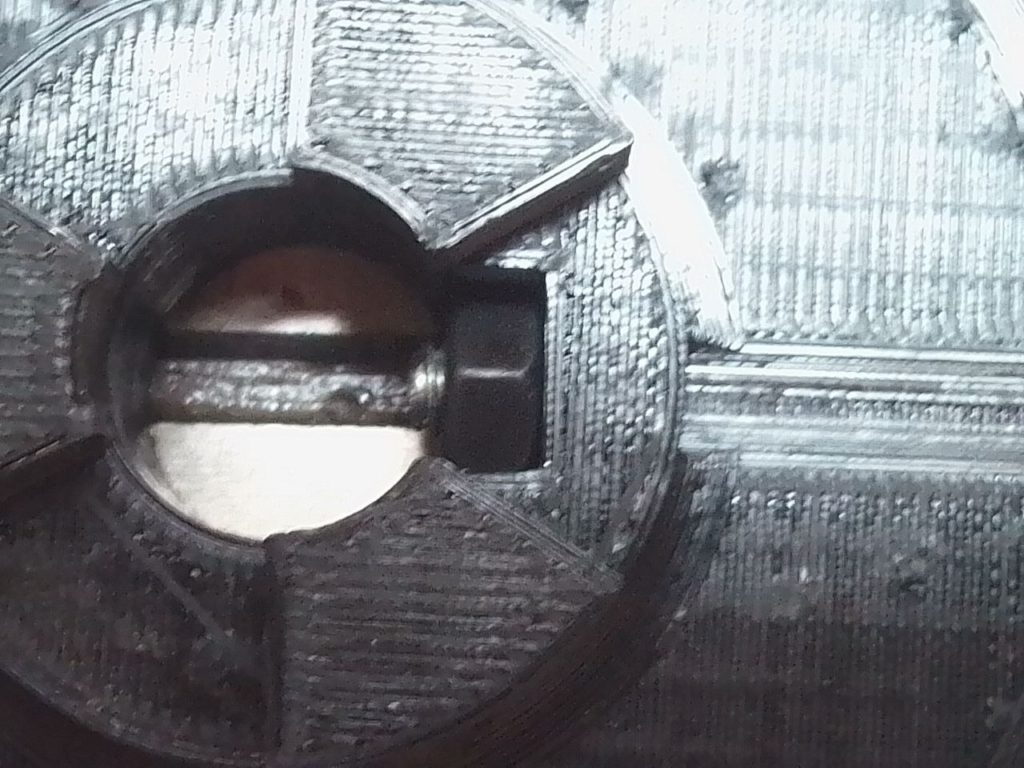
The nut on the left side of the wheel is to mount the handle. I had to cut away a little plastic to make it fit, I didn’t allow enough room for it in my design.
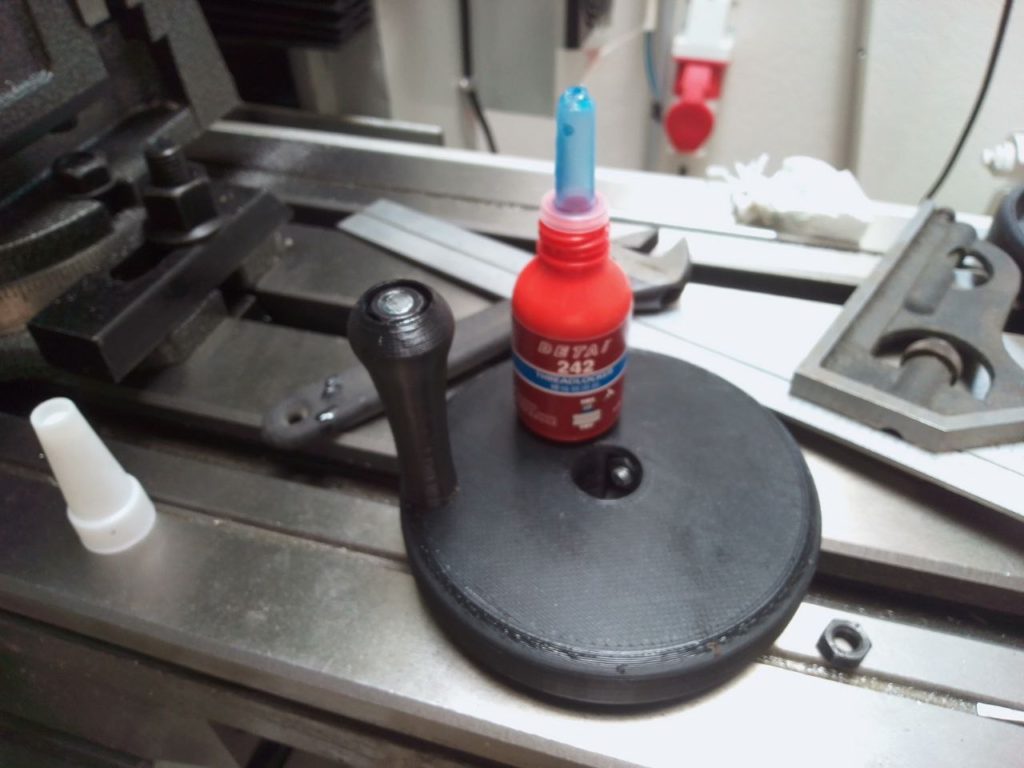
A piece of that M6 running thread goes all the way through the handle with a nut on each end. The nuts have “thread locking compound”, a special glue for bolts. There are 3 main colors of it to designate strength. Red is more or less permanent, used for parts you’re not planning to ever take apart. The blue is a moderate strength that you can break loose in the future. Green is used for already assembled parts, it will soak into the threaded area and harden. It’s a bit stronger than blue.
Here’s an assembled hand wheel and bottle of blue thread locking compound. The handle part is loose so it turns on the running thread.
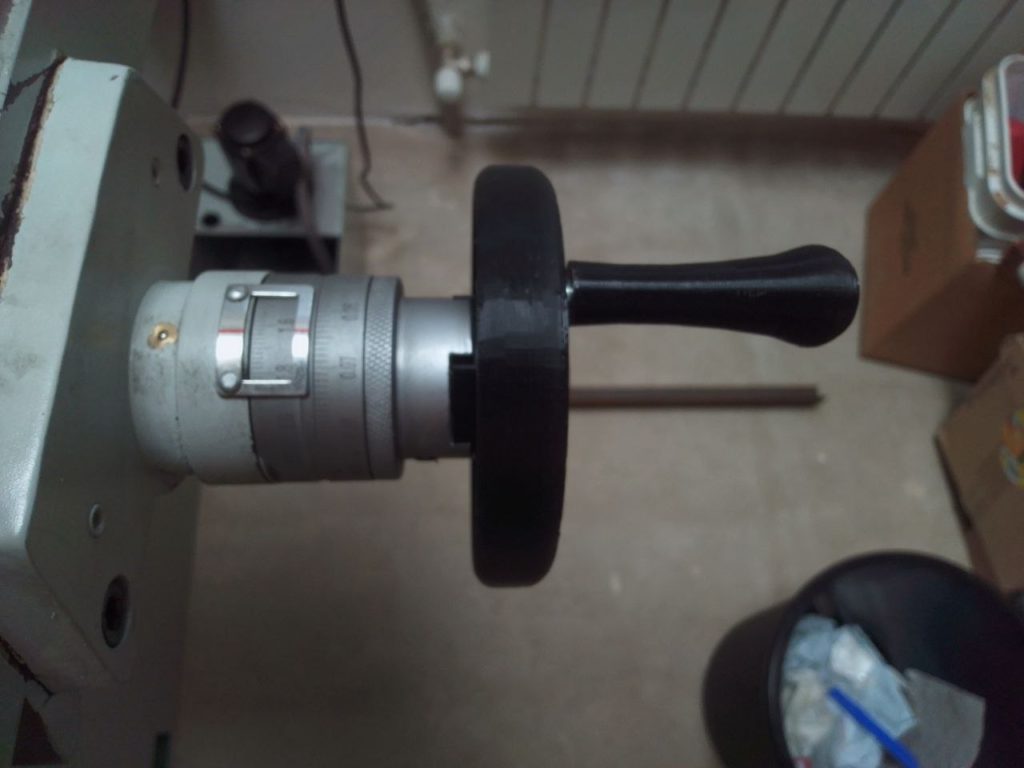
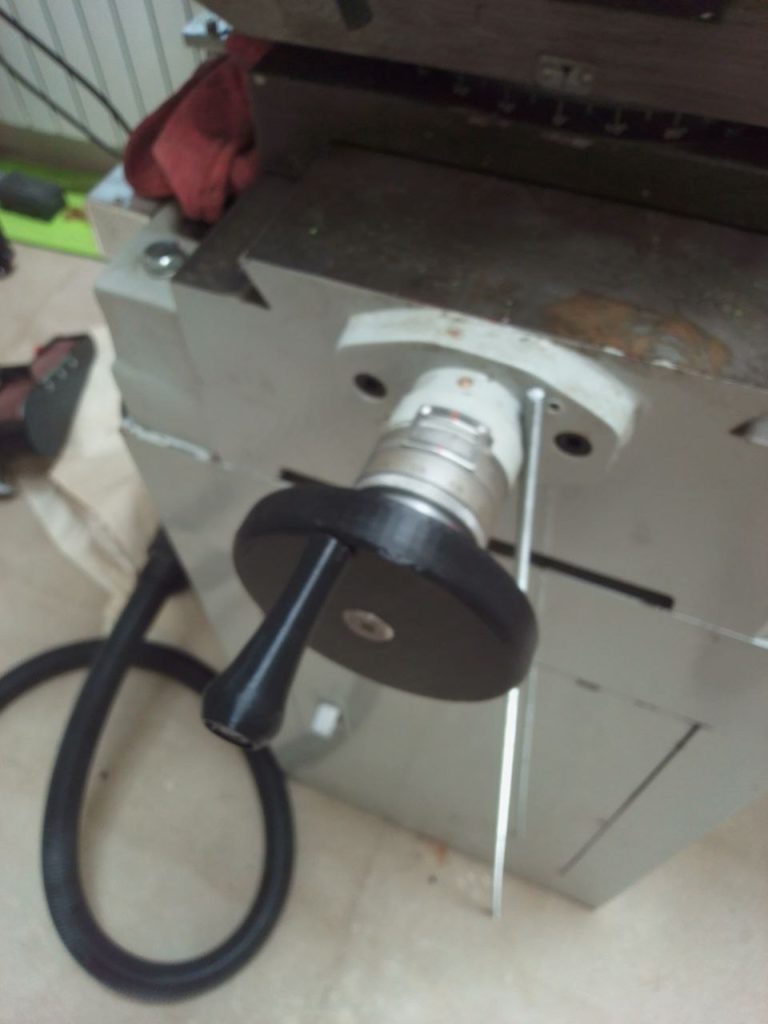
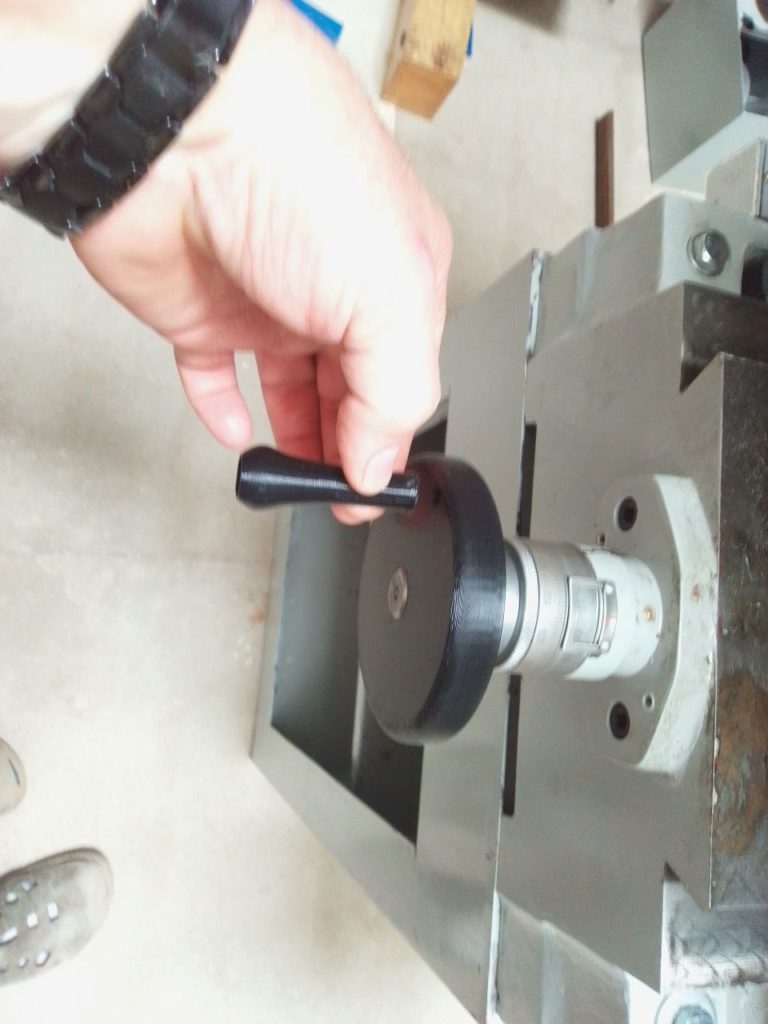
Wheels installed on milling machine. In the second picture you can see the left over M6 running thread leaning against the mill.
That’s it for the hand wheels.
Today with the power off I put all the parts back on the milling machine, went out to the store and picked up a hacksaw, then installed the hand wheels. About the time I finished the power came back on. I tested the mill, all is well.
Tomorrow I have to modify the other 380V wall outlet and install it so both the saw and mill can be plugged in all the time. I need the mill to do that so it had to wait.
Many many other things to do!
One response to “Make what you need”
Jerry,you are quite right saying that sometimes some parts of new machines are missing.But very often we break or lose parts of very useful devices. My mother had a very old “Zinger” sewing machine which she used to sew clothes.Once she broke a very important part of this machine. She had to buy a new one. It was impossible to buy or repair the broken part.Your post is really very useful.Thank you.